# AWS S3 Plugin
Amazon AWS provides a storage service dubbed S3 (Simple Storage Service). While not cheap, it enables rich access configuration and covers lots of use scenarios. For a Wildland user, S3 is convenient since it enables container sharing scenarios with a mix of read-only and write access and it is performant. Note that you need to have an Amazon AWS account.
# 1. Create bucket
Open AWS Console and navigate to S3 service -> Create bucket.
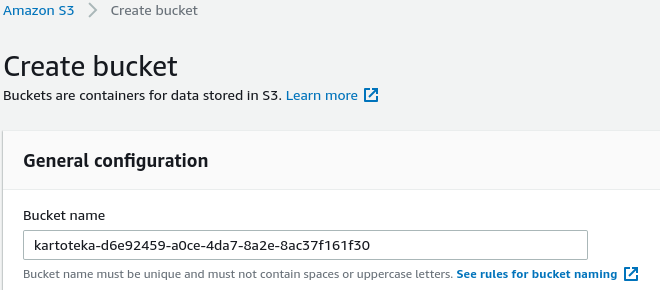
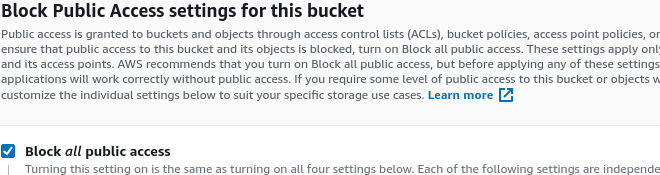
Note that exposing the bucket via a public URL is not needed (thanks to Wildland's use of link objects)!
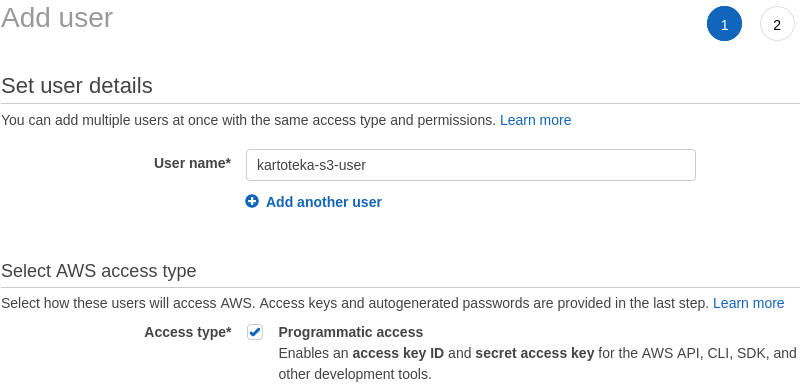
# 2. Add dedicated user for accessing this bucket
While it's possible to use a regular AWS Console user (typically with the admin role) this is strongly discouraged! To create a dedicated user, navigate to IAM service -> Users -> Add user. Make sure to enable programmatic access for this dedicated user. We will create a policy for this user in the next step.
# 3. Create policy for the bucket
To create a policy, you need to navigate to IAM service -> Policies -> Add policy. Switch to JSON policy editor - it's simpler. Copy-paste the read-write policy listed below and change the name of the bucket to one you are using. If this bucket (and so any WL containers using it) are to be shared with others in read-only mode, read-only policy should be used instead (this is also listed below). Please note that when specifying ARNs, you need to provide both bucket and bucket/* entry.
Read-write policy:
{
    "Version": "2012-10-17",
    "Statement": [
        {
            "Sid": "VisualEditor0",
            "Effect": "Allow",
            "Action": [
                "s3:GetObjectAcl",
                "s3:GetObject",
                "s3:ListBucketMultipartUploads",
                "s3:ListBucket",
                "s3:GetBucketAcl",
                "s3:ListMultipartUploadParts",

                "s3:AbortMultipartUpload",
                "s3:DeleteObject",
                "s3:PutObject"
            ],
            "Resource": [
                "arn:aws:s3:::kartoteka-d6e92459-a0ce-4da7-8a2e-8ac37f161f30",
                "arn:aws:s3:::kartoteka-d6e92459-a0ce-4da7-8a2e-8ac37f161f30/*"
            ]
        }
    ]
}
Read-only policy:
{
    "Version": "2012-10-17",
    "Statement": [
        {
            "Sid": "VisualEditor0",
            "Effect": "Allow",
            "Action": [
                "s3:GetObjectAcl",
                "s3:GetObject",
                "s3:ListBucketMultipartUploads",
                "s3:ListBucket",
                "s3:GetBucketAcl",
                "s3:ListMultipartUploadParts"
            ],
            "Resource": [
                "arn:aws:s3:::kartoteka-d6e92459-a0ce-4da7-8a2e-8ac37f161f30",
                "arn:aws:s3:::kartoteka-d6e92459-a0ce-4da7-8a2e-8ac37f161f30/*"
            ]
        }
    ]
}
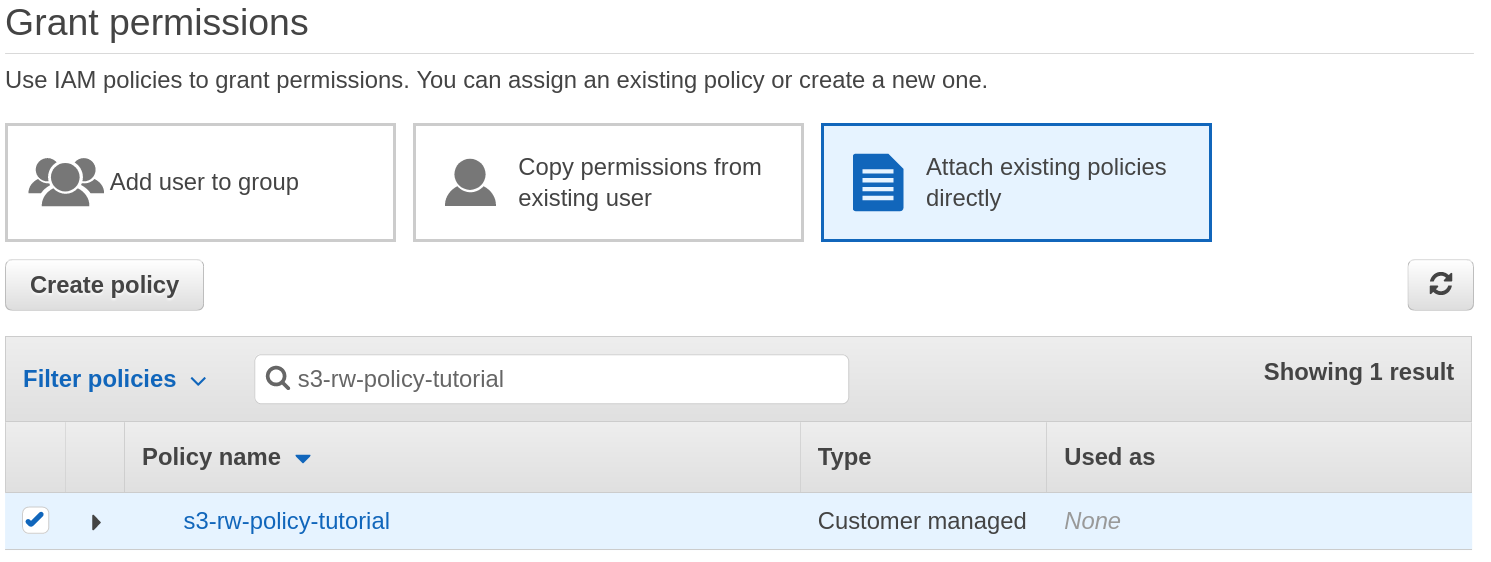
# 4. Attach the newly-created policy to the dedicated user
See Figure 4 below.
# 5. Retrieve access and secret key
Navigate to IAM service -> Users -> (your dedicated user) -> Security credentials -> Access keys -> Create access key. Then download or copy the access and secret key.
# 6. Use the backend in Wildland
You can now copy/paste the access-/secret-key tokens for this user and use them in WL to create storage. It's most convenient to create a storage template, e.g.:
$ wl template create s3 my-aws-bucket \
    --access-key ... \
    --secret-key ... \
    --s3-url s3://kartoteka-d6e92459-a0ce-4da7-8a2e-8ac37f161f30/
Now, it's easy to create a container:
$ wl c create my-container --path /tests/test-aws --template my-aws-bucket
← Google Drive WebDAV →